Cottonwood Instructors Jessie and Ruthie joined Boulder County for a Lefthand Outdoor Challenge winter skills day at Caribou Ranch. Written by Ruthie Cartwright.
 We’ll invite you into the same scene that we offered the Lefthand Outdoor Challenge students on Saturday: imagine that we just sat down to take a break after a long snowshoe hike. We’ve been going for hours and are miles away from the vans, and are sweaty and slap-happy from all of the “high knees” we’ve had to do just to take a step. As we laugh and eat granola bars, we begin to notice the temperature of the air shift, and the shadows on the trees go long. One of us asks, “How much longer?” to the hike leader. It is in this moment that they tearfully reveal to us that they haven’t known what trail we were on for hours, and they were too embarrassed to tell us.
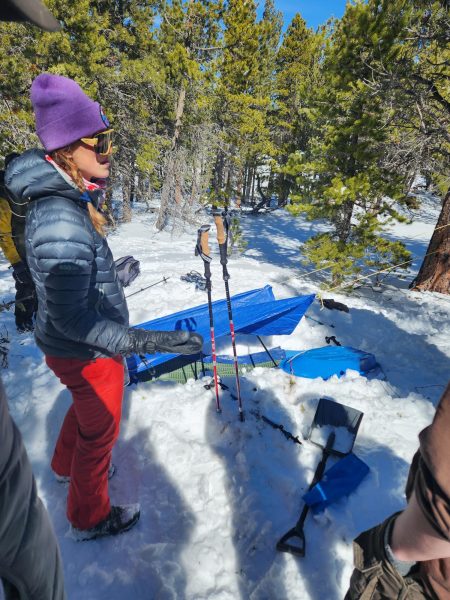
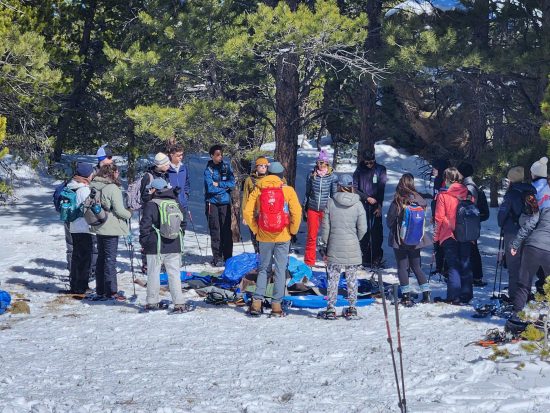
We open our eyes and look at the materials in front of us with a clear mission: to build a shelter by nightfall that will keep at least one of us warm and protected. The students are looking at a cornucopia of potential materials: tarps, p-cord, hiking poles, shovels. They are broken into teams and given a mission to go find an already started shelter spot, assess the area and their needs, and send a runner to fill a sled with their materials at the sound of a bird call.
Shovels digging, snow flying, cords knotting, and about fifteen minutes later, we had a shelter tour on our hands. We examined issues as a team in looking at each shelter: where was the shelter and why? We talked about building close to our resources, in this case either in or close to a deep snow drift, or a pre-existing wind break of much-larger-than-human boulders (and of course making sure to avoid dead-fall and potential hazards!). We asked what was working about each shelter, and what needed work? We used this activity to explore the pros and cons of different shapes (circle, square?) and dimensions (ideally at least 2-3 ft deep) of a shelter and how to most efficiently capitalize on our body heat (bringing our legs into our core in the fetal position as well as building small spaces not much larger than our own bodies to not have to use our body heat to warm any more space than needed).
 Because our station was a very quick 30 minutes, we only addressed shelters we would build for an overnight emergency: something we could get up quick before a storm rolled in, and that wouldn’t burn too much energy or cause us to sweat too much (and thus to wick off moisture). Our primary example was that of the snow trench, which many students intuitively built with no direction from us! (include visual here?). In a survival situation of greater significance and with more time (and deeper snow) on our hands, we might have explored a Cottonwood favorite like the quinzhee, a shelter that lends itself to spending more time inside and even potentially lighting a stove inside.
The key piece of our scenario that was the least realistic is what we might actually have on hand for a day hike. If this were to happen to you, what materials from your day pack might prove useful? What else might you want to carry with you in the winter? How else can you increase your heat and utilize your resources? An emergency stove, hot cocoa mix, and bone broth always make it into my day pack on a snowy day, and I’m always carrying a snack and an insulated bottle in case I need more sustenance than I anticipated. What would your ideal emergency shelter design be?
Thank you to Lefthand Outdoor Challenge and their students for hosting us!